
Learn how to make classic butter mints with heavy whipping cream, butter, powdered sugar, and more! These butter mints are perfect for holidays and special occasions. They are also super easy to make, which makes this recipe great for beginners and very kid friendly.
What are butter mints?
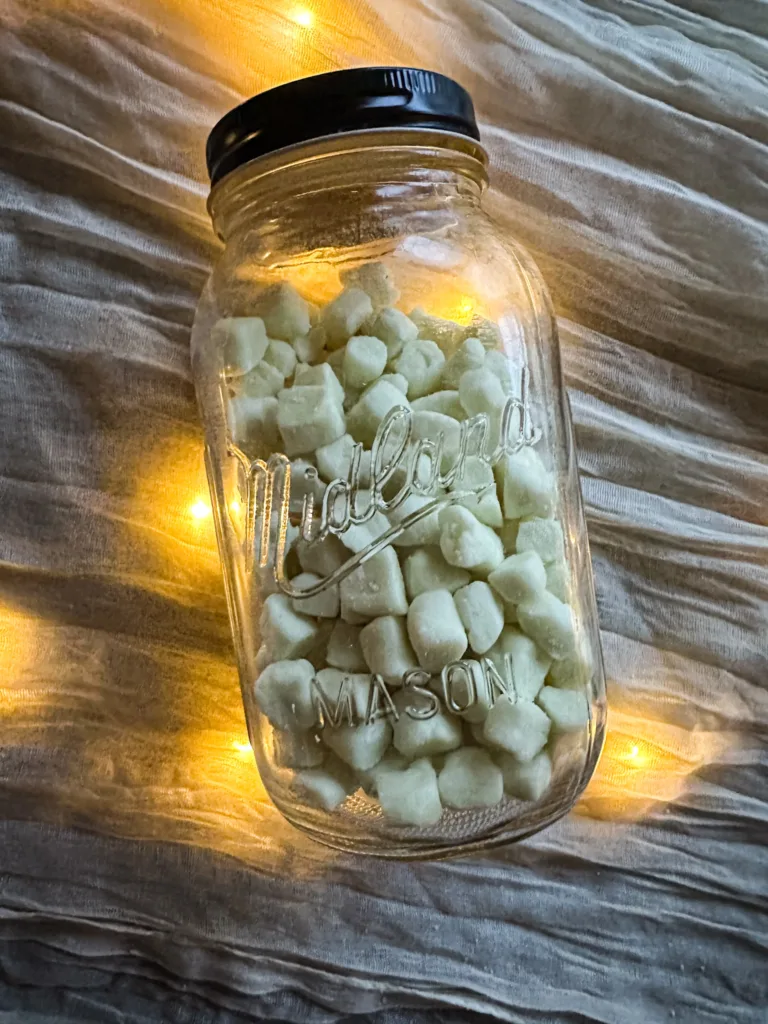
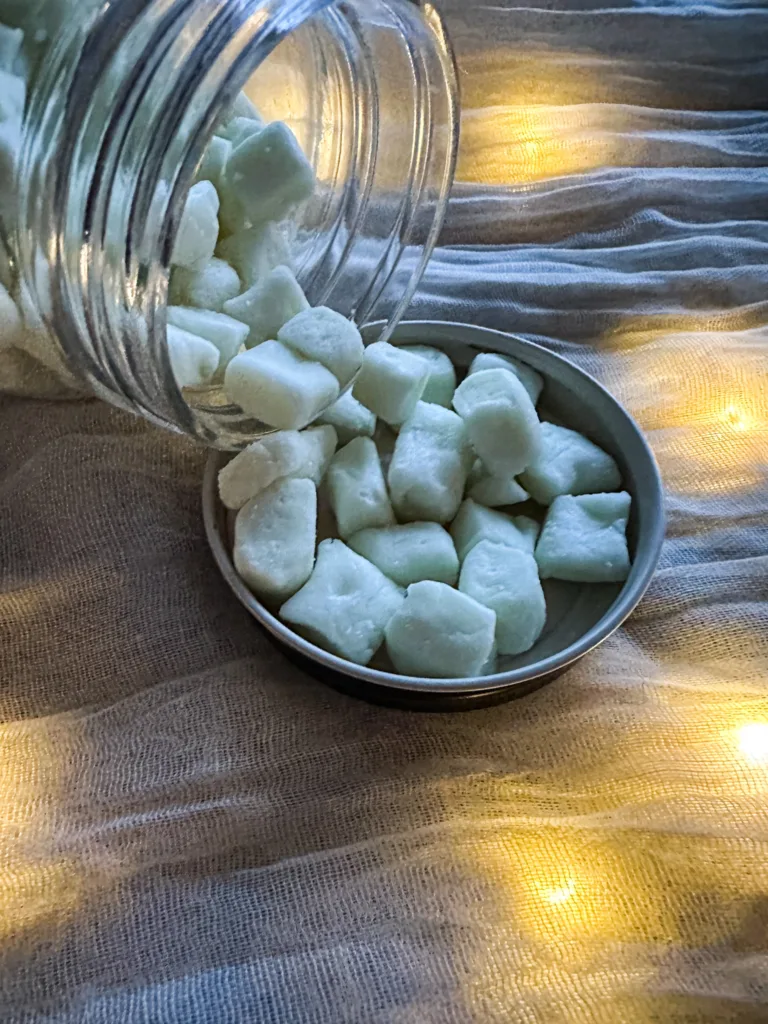
Butter mints are a type of candy that are very soft, rich, and buttery and have a melt-in-your-mouth type of texture. They are sometimes associated with baby showers and weddings.
Additionally, they are usually in the form of little squares or pillow-like shapes. However, some people will use forks or other utensils to make the mints into different shapes with various designs on them.
What do butter mints taste like?
Butter mints are creamy, buttery, and rich. They are also super soft!
The origin of butter mints
The original butter mint can be traced back to Philadelphia in the late 1800’s. A “melt-in-your-mouth” type of mint was created by Thomas Richardson who added butter to traditional mints to give them their signature texture.
Butter mints then climbed in popularity in the 1940’s and 1950’s due to their simple ingredients and how easy they are to make at home.
Today, butter mints are still popular in the Southern Region of America as well as the Pennsylvanian Dutch Community.
Why I love this recipe
Like I mentioned above, these mints are very easy to make. I also love how just making one batch of them is enough for a crowd.
Additionally, you can customize these mints too. For example, you can use yellow food coloring and lemon juice or lemon extract to make the candies lemon flavored. I haven’t tried this flavor, but lavender would also taste good I’m sure and you could use purple food coloring. 🙂
What are butter mints made of?
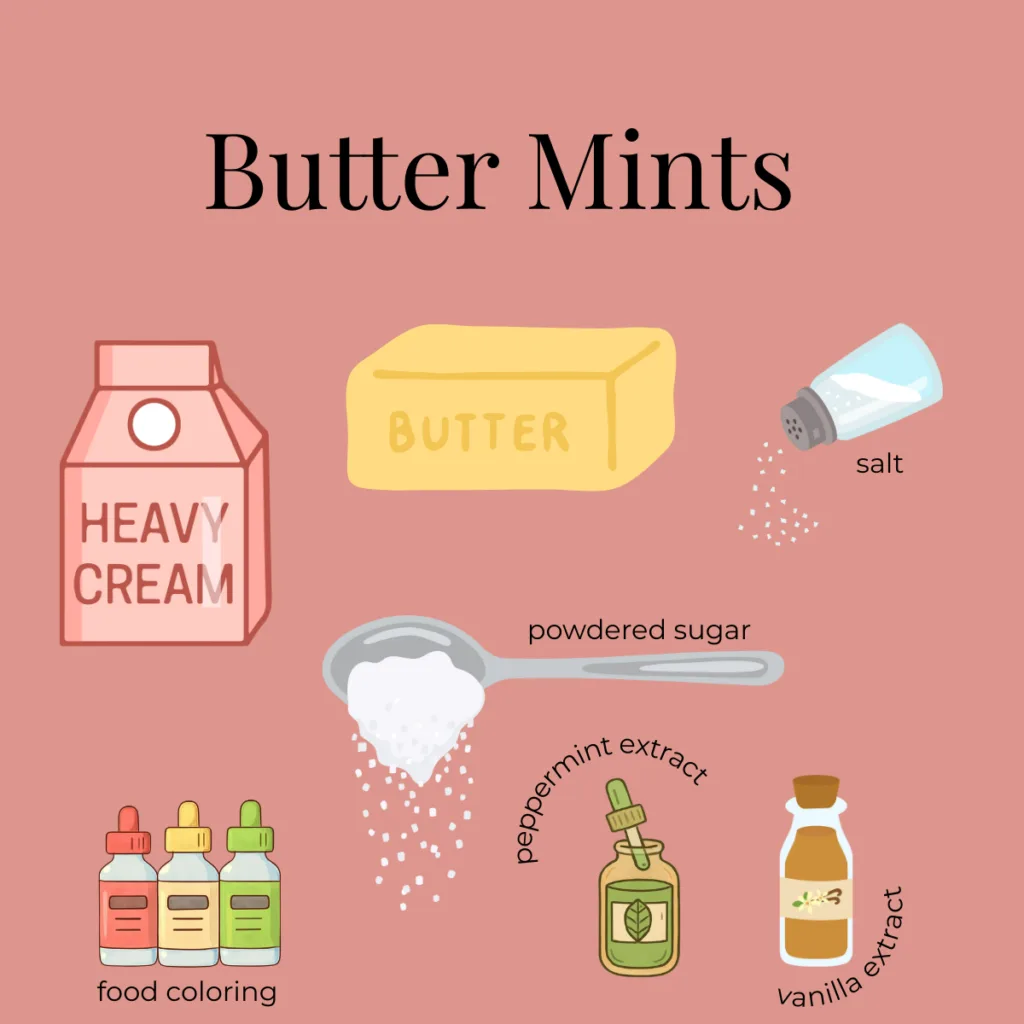
Butter mints are typically made with powdered sugar, softened butter (of course), and peppermint extract. In this recipe, I also use heavy whipping cream and vanilla extract.
Why are they called butter mints?
Butter mints are made with butter and they are also so soft and smooth just like the texture of room temperature butter.
Are dinner mints and butter mints the same thing?
Dinner mints is a term used to describe a variety of different mints that can be served after dinner to freshen up one’s breath. So butter mints are a type of dinner mint, and there are also other types of dinner mints, such as hard peppermint candies.
Equipment needed
Medium mixing bowl
Hand mixer or stand mixer
Measuring cups and spoons
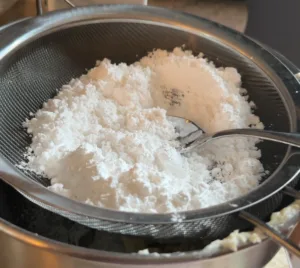
Sifter (helps to take away any clumps in the powdered sugar)
Rubber spatula
Small knife or bench scraper
Cooling rack
Parchment paper
Ingredients
1/2 cup (1 stick) softened, unsalted butter
4 cups of sifted powdered sugar
2 tablespoons of heavy whipping cream (or milk)
1/2 teaspoon of peppermint extract
1/4 teaspoon of vanilla extract (optional)
Pinch of fine salt
Food coloring of choice (optional)
How to make butter mints
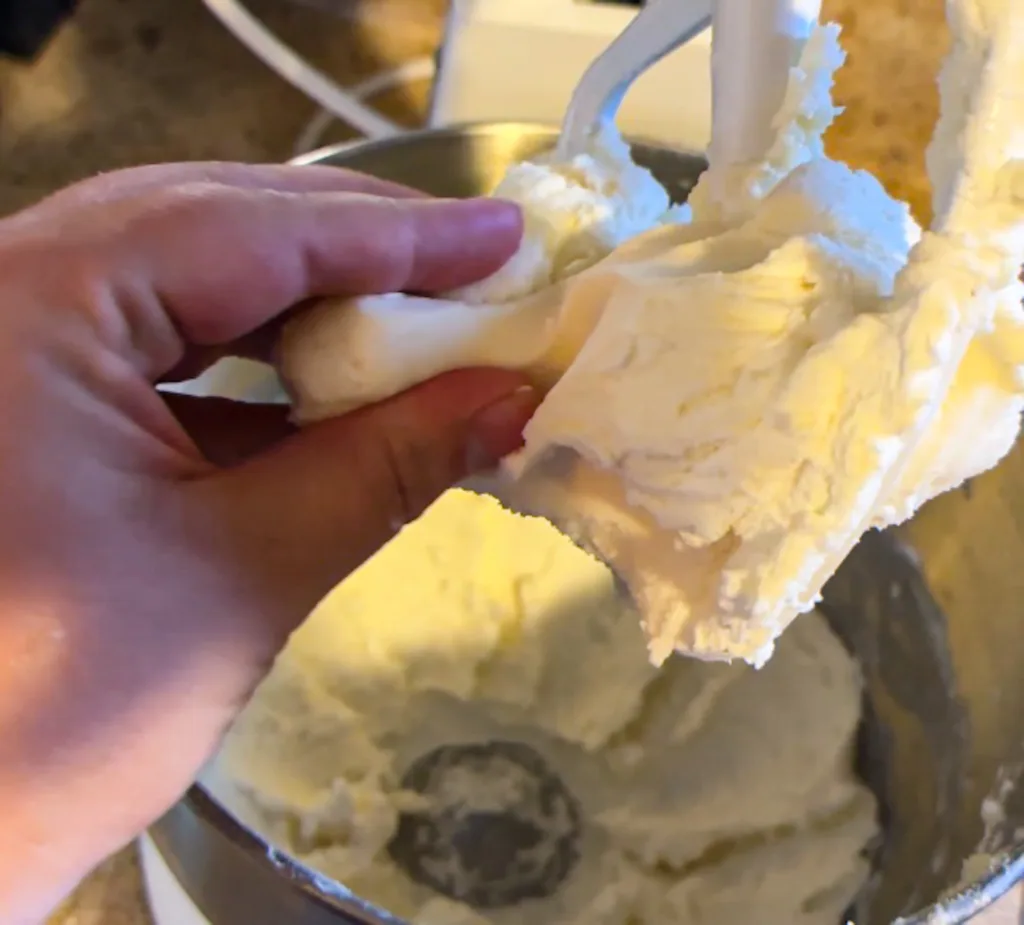
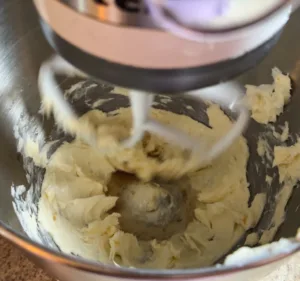
Start by adding the stick of butter to a stand mixer or a bowl with a hand mixer and mixing until creamy in texture.

Next, add in the heavy whipping cream, peppermint extract, vanilla extract, and pinch of salt to the butter. Mix everything together thoroughly.
Then, add in one cup of powdered sugar at a time to the butter mixture and mix until smooth.

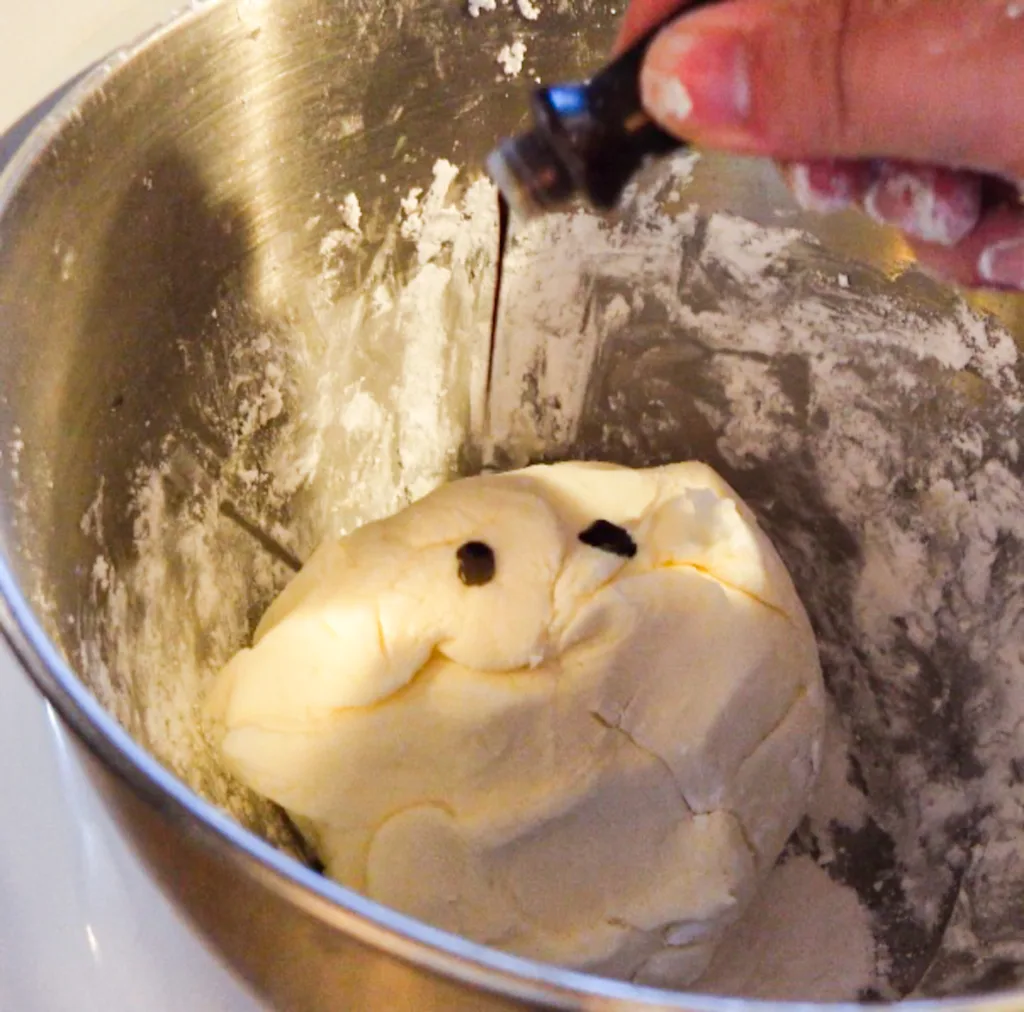
After the four cups of powdered sugar have been added, the texture of the mixture should feel like playdough. If the butter mint dough is too greasy, add about a tablespoon more of powdered sugar as needed. If the butter mint dough is too dry, add another tablespoon of heavy whipping cream as needed.
Then, add a few drops of food coloring to the mint dough. Mix until you achieve the desired color, adding more food coloring if you want.
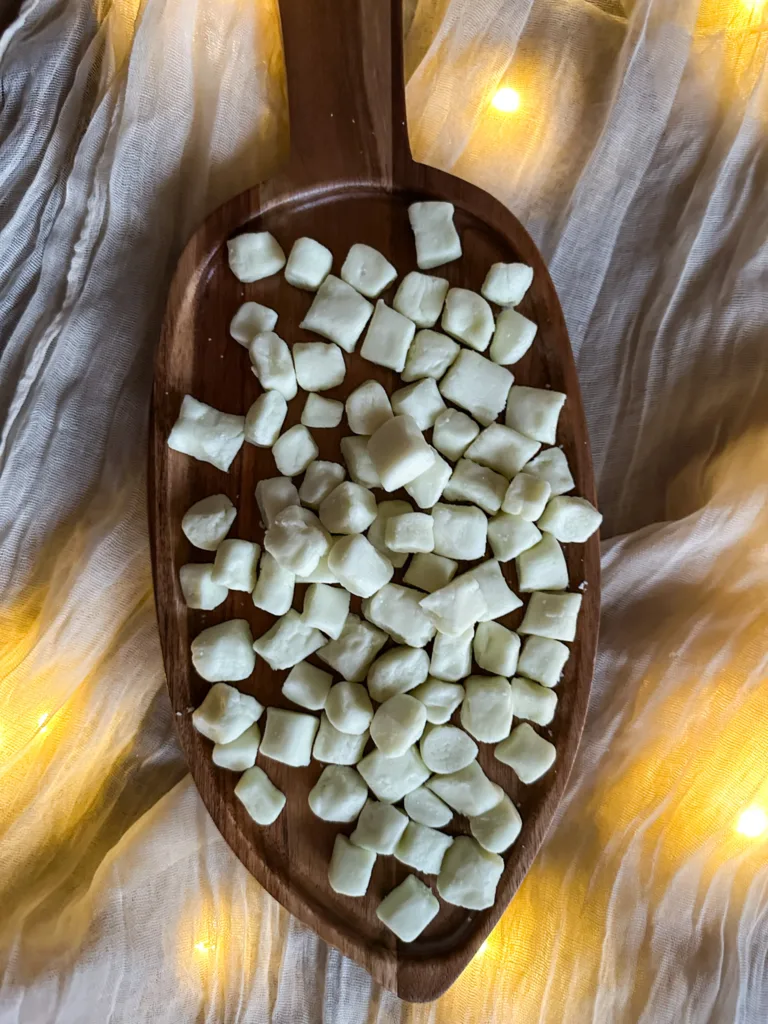
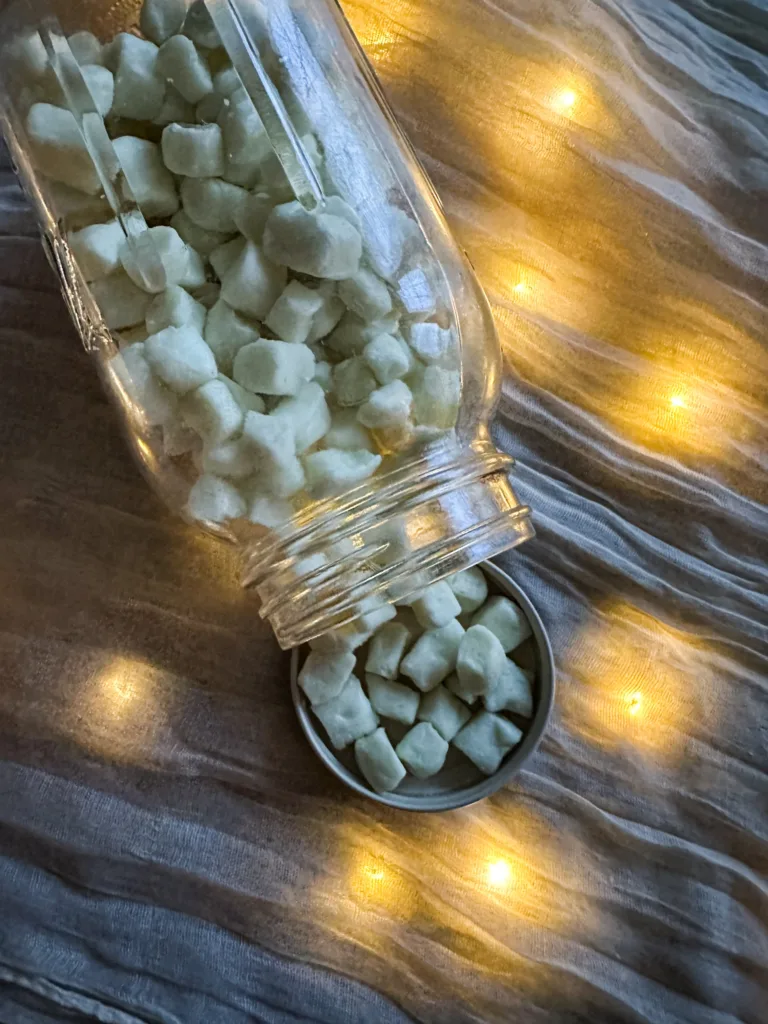
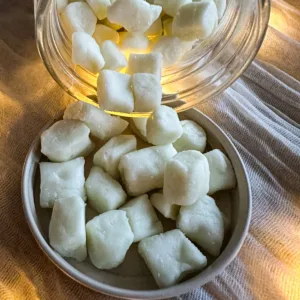
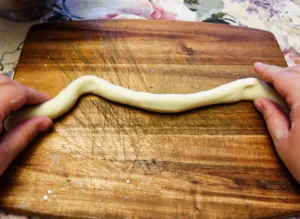
Next, grab a handful of the mint dough and roll it into a rope like shape about 1/2 inch thick.
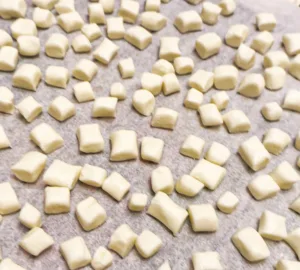
Use the small knife or bench scraper to cut the rope into 1/2 inch “pillow shapes.”

Repeat until all of the mint dough has been shaped.
Then, line the cooling rack with parchment paper and spread the butter mints out on it to dry for 12-24 hours.
You will know when the butter mints are done because they will be firm to the touch, but creamy on the inside. 🙂
Butter Mints
Equipment
- Medium mixing bowl
- Hand mixer or stand mixer
- Measuring cups and spoons
- Sifter (helps to take away any clumps in the powdered sugar)
- Rubber Spatula
- Small knife or bench scraper
- Cooling Rack
- Parchment Paper
Ingredients
- 1/2 cup 1 stick softened, unsalted butter
- 4 cups of sifted powdered sugar + more if needed
- 2 tablespoons of heavy whipping cream or milk + more if needed
- 1/2 teaspoon of peppermint extract
- 1/4 teaspoon of vanilla extract optional
- Pinch of fine salt
- Food coloring of choice optional
Instructions
- Start by adding the stick of butter to a stand mixer or a bowl with a hand mixer and mixing until creamy in texture. Then add in the powdered sugar. It helps to add it in and mix it one cup at a time.

- After the four cups of powdered sugar have been added, the texture of the mixture should feel like playdough. If the butter mint dough is too greasy, add about a tablespoon more of powdered sugar as needed. If the butter mint dough is too dry, add another tablespoon of heavy whipping cream as needed.
- Then, add a few drops of food coloring to the mint dough. Mix until you achieve the desired color, adding more food coloring if you want.
- Next, grab a handful of the mint dough and roll it into a rope like shape about 1/2 inch thick.
- Use the small knife or bench scraper to cut the rope into 1/2 inch “pillow shapes.”
- Repeat until all of the mint dough has been shaped.
- Then, line the cooling rack with parchment paper and spread the butter mints out on it to dry for 12-24 hours.
- You will know when the butter mints are done because they will be firm to the touch, but creamy on the inside. 🙂


Notes
How to store butter mints
You can store your butter mints at room temperature in an air-tight container for up to two weeks.
If you would like to preserve the mints for longer, you can store the mints in the fridge for up to one month.
Helpful tips and tricks
Fully soften the butter- Allow the stick of butter to sit out at room temperature for at least 30-60 minutes. You want the butter to be very soft otherwise the mint dough can be too crumbly.
Sift the powdered sugar- This gives the butter mints a smooth texture.
Add a cup at a time of powdered sugar- You want your butter mint dough to feel like playdough. If the dough is too greasy, add about a tablespoon of powdered sugar as needed. If the dough is too crumbly, add about a tablespoon of heavy whipping cream as needed.
Shape into small pieces- If the butter mints are thicker in shape, they will take longer to harden.
Taste test with the extract- Peppermint, or any extract, is very strong and a little goes a long way! Add a half of a teaspoon to the dough to start. You can always sample the butter mint dough and add more to taste later on.
Use dye free food coloring- Food coloring that contain different dyes can be harmful as many of us know. So, I like to use Watkins Assorted Food Coloring with no artificial dyes.
Silicone mold use- You can use silicone molds to create fun shapes for your mints, but here are a few things to keep in mind: use a silicone mold that is more shallow and has smaller cavities and you may want to chill the mints in the mold(s) for a one to two hours before popping them out to completely air dry.
I hope you all enjoy! Please let me know if you have any questions!