
This homemade naan recipe is a hit in my home. It’s so simple to make that you can practically make the naan last minute. It is also very versatile and a great way to stretch a meal just a little further.

Try out your naan with my tapenade recipe! It’s made with avocado oil, capers, green and Kalamata olives, and more.
Why I love this recipe
- Quick: Just mix your ingredients together, let the dough sit for 15 minutes or so, shape, and then fry on the cast iron pan!
- Versatile: You can enjoy naan with a variety of different things! Want a sweet version? Try honey and cinnamon. Want more savory naan? Include some of your favorite shredded cheese!
- Filling: I love to have naan as a side with an entree. The naan is just as filling as any other bread would be.
Why this homemade naan recipe works
Let’s be real for a second—life with a houseful of littles is beautiful, but it is busy. There are days when I realize at 4:00 PM that I didn’t plan a side for dinner, and that’s exactly why this naan recipe is a permanent resident in my kitchen rotation.
Unlike traditional yeast breads that require hours of hovering and rising, this dough is incredibly forgiving. You get those gorgeous, pillowy bubbles and deep flavor without the day-long commitment. It’s the ultimate ‘stretch-the-meal’ secret weapon! Whether we’re dipping it into a fresh tapenade or using it as a last-minute pizza crust, it never fails to disappear off the table in minutes.

The History of Naan: From Royal Courts Right to Your Kitchen!
I love learning about food history—there’s just something about knowing a recipe has stood the test of time that makes it taste even better, right?
The word ‘naan’ actually comes from the Persian word for bread, and while we mostly associate it with Indian cuisine today, its roots trace all the way back to Ancient Persia. Fast forward to the 1300s, and you’d find it being mentioned by Indo-Persian poets!
For a long time, this wasn’t just ‘everyday’ bread. Because leavening (making the bread rise) was a bit of a process back then, naan was actually a delicacy reserved for the elite during the Mughal Empire. They’d enjoy it fresh from a tandoor oven for breakfast with kebabs.
Now, as a busy mom, I love that I can bring a little bit of that ‘royal’ history to our dinner table in about 20 minutes. We might not have a giant clay tandoor in the backyard, but a hot cast iron skillet does a pretty incredible job of mimicking that ancient method!
Pro-Tips for the best success (Expertise)
Cast iron skillet: A cast iron skillet is my “go-to” method for making authentic naan. What the cast iron does is retains high heat which then creates charred bubbles on the naan. This gives the naan that iconic texture and taste.
Don’t over-knead: Kneading causes the gluten to develop, but too much of it causes the naan to become tough rather than fluffy.
Homemade naan recipe pairings and serving suggestions
- Creating the perfect pair: One of the ways that we love to eat naan is by using the naan as a pizza crust! Naan also pairs so nicely with a good hearty soup and salad.
- Keeping it kid-friendly: My kids love to eat any type of bread with butter, because butter makes everything better! You could serve naan with some butter and honey for a delicious, refined sugar-free treat. 🙂
- A twist on garlic bread: Want your naan to be more on the savory side? Then try out some naan with garlic! Melt some butter with fresh finely-minced garlic, or even some garlic powder in a pinch, and spread it on the naan for a different way to enjoy garlic bread.
Naan variations
Whole wheat version: You can replace half or all of the all-purpose flour with whole wheat flour. However, you may need to add a little extra milk (1-2 tbsp) since whole wheat absorbs more liquid.
Also, be sure to let the dough sit longer, about 20 minutes, this will keep the naan soft.
Dairy-free naan: Replace the yogurt with a dairy-free alternative (plain coconut yogurt or almond yogurt work great) OR use 3/4 cup dairy-free milk + 1 tsp lemon juice.
Also, you can use olive oil, avocado oil, or melted coconut oil instead of butter. And feel free to add a little more flour if the dough feels too sticky!
Equipment needed for homemade naan
- Measuring cups and spoons
- Whisk (optional)
- Mixing spoon
- Medium bowl
- Rolling pin (optional)
- Pizza cutter or bench scrapper (to cut the naan dough-optional)
- Cast iron skillet
Ingredients for homemade naan
- 2 cups all-purpose flour + a little more for kneading/ work surface
- 1 tsp baking powder
- 1/2 tsp salt
- 1 tsp sugar (optional- but helps with flavor)
- 3/4 cup plain yogurt
- 2-4 tbsp milk (as needed)
- 2 tbsp olive oil or melted butter
- Basil and oregano to taste (optional)

How to make homemade naan
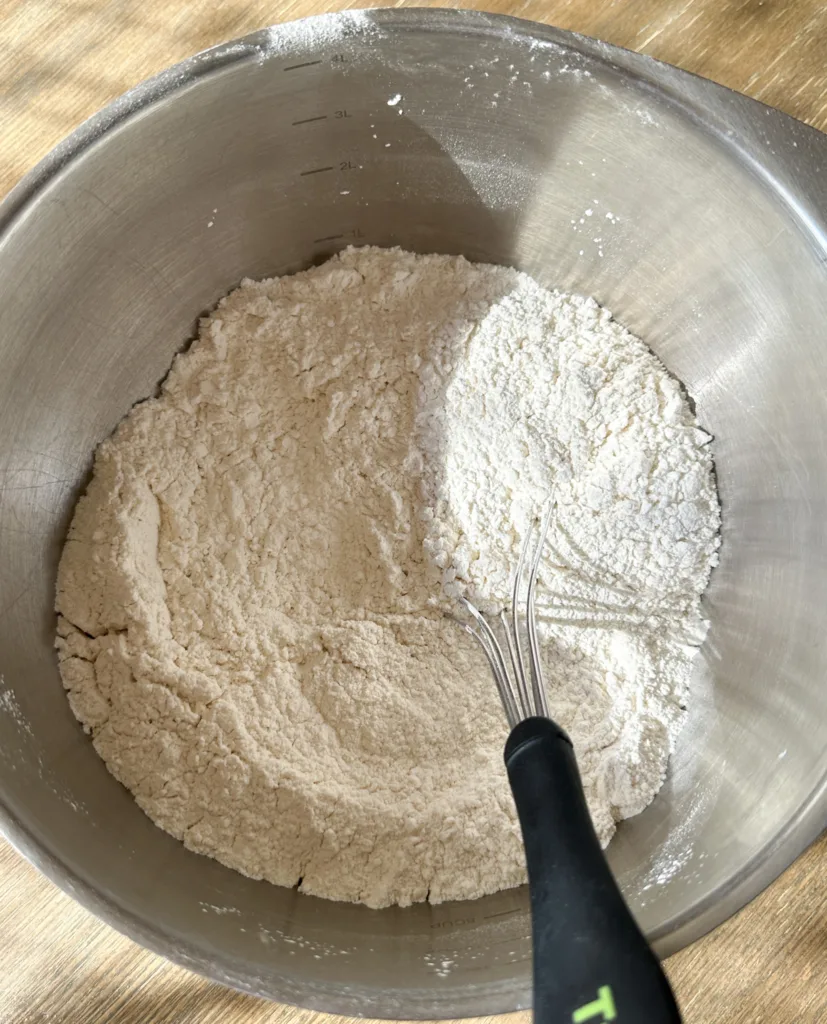
Start by mixing the flour, baking powder, salt, and sugar in a bowl.
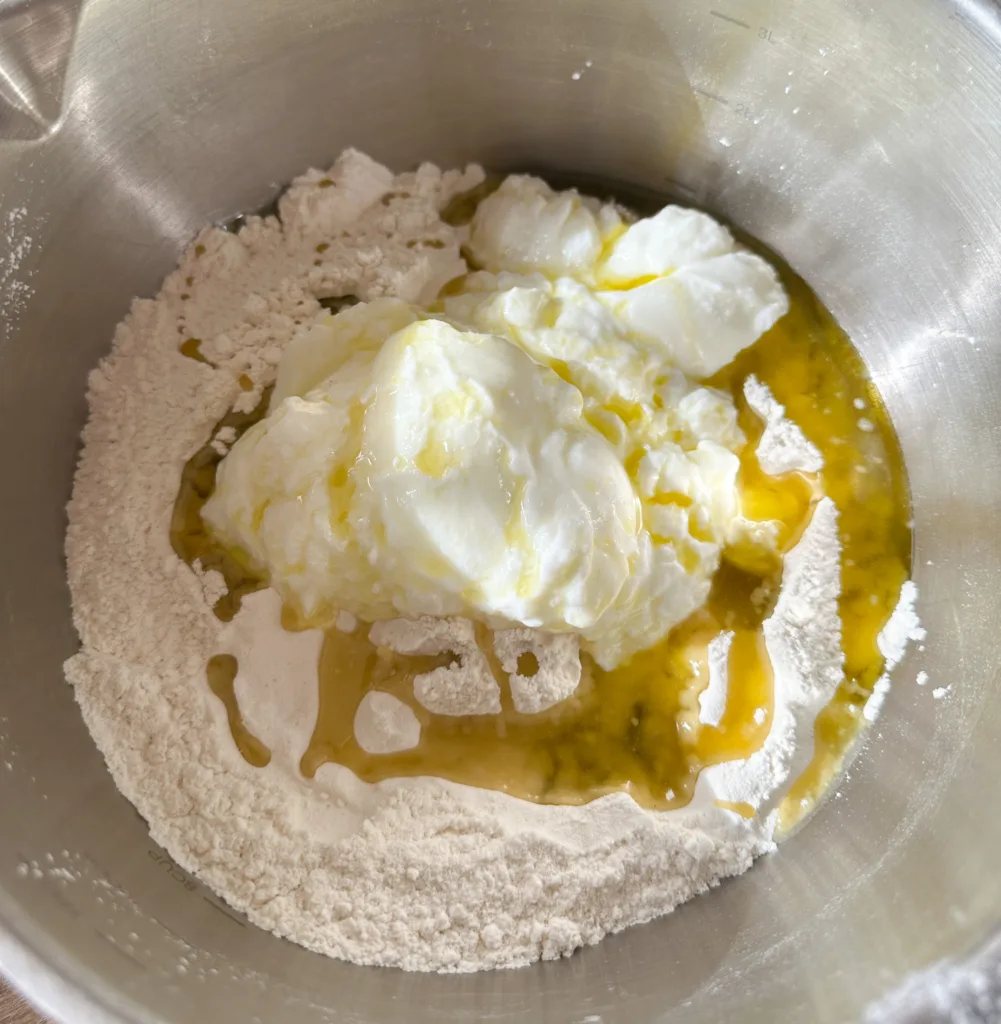
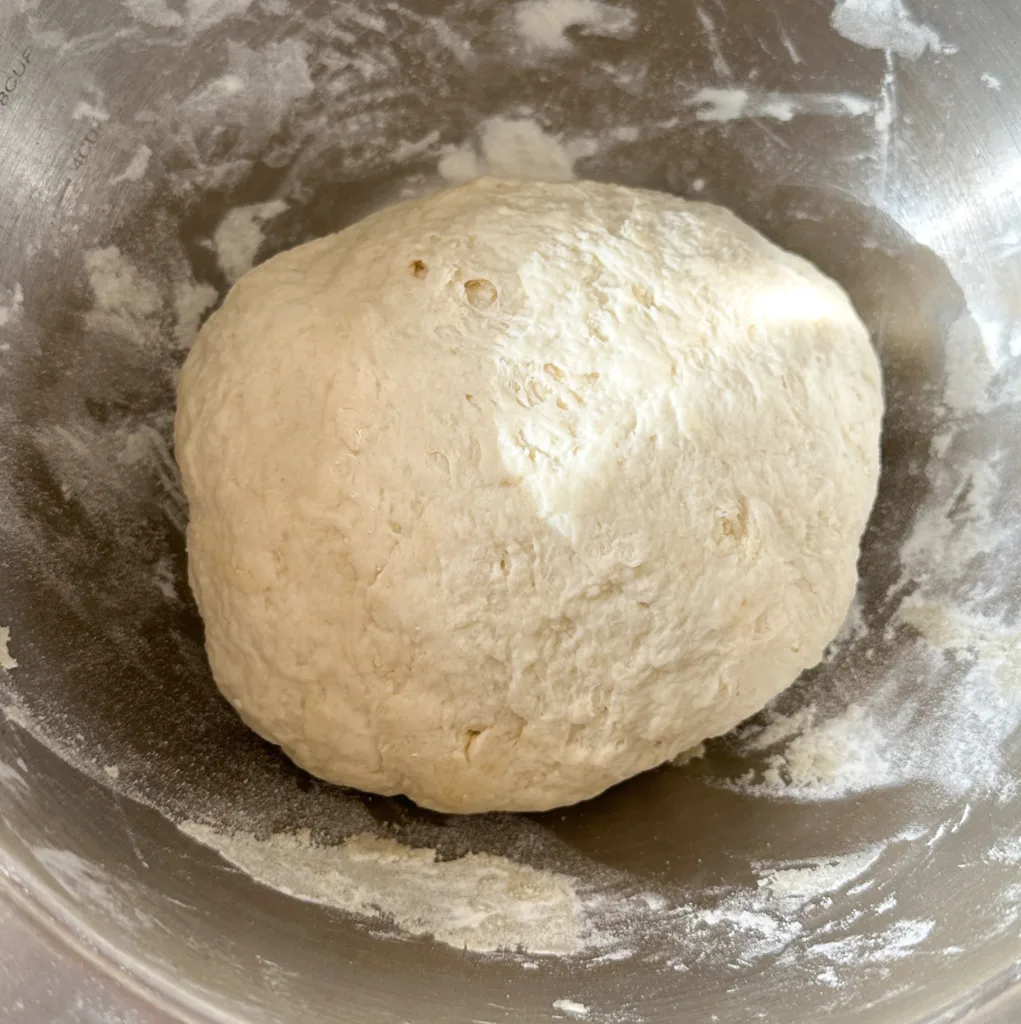
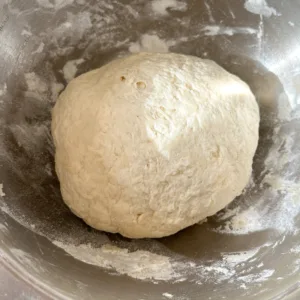
Next, add the yogurt and oil and mix with the flour mixture until a dough forms. Add milk if needed, just enough so that the dough isn’t crumbly.
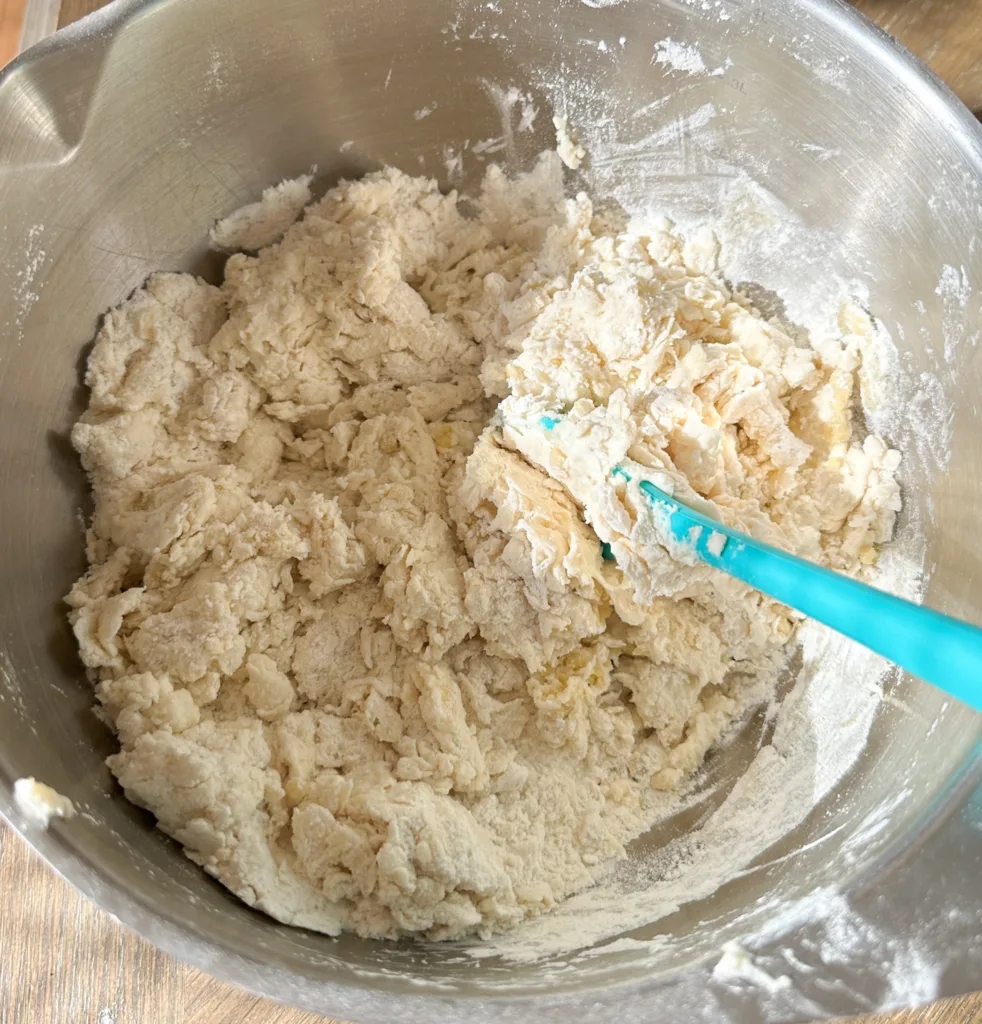
Then, quickly knead the dough on a floured surface for about 2-3 minutes. Set aside for 10-15 minutes.
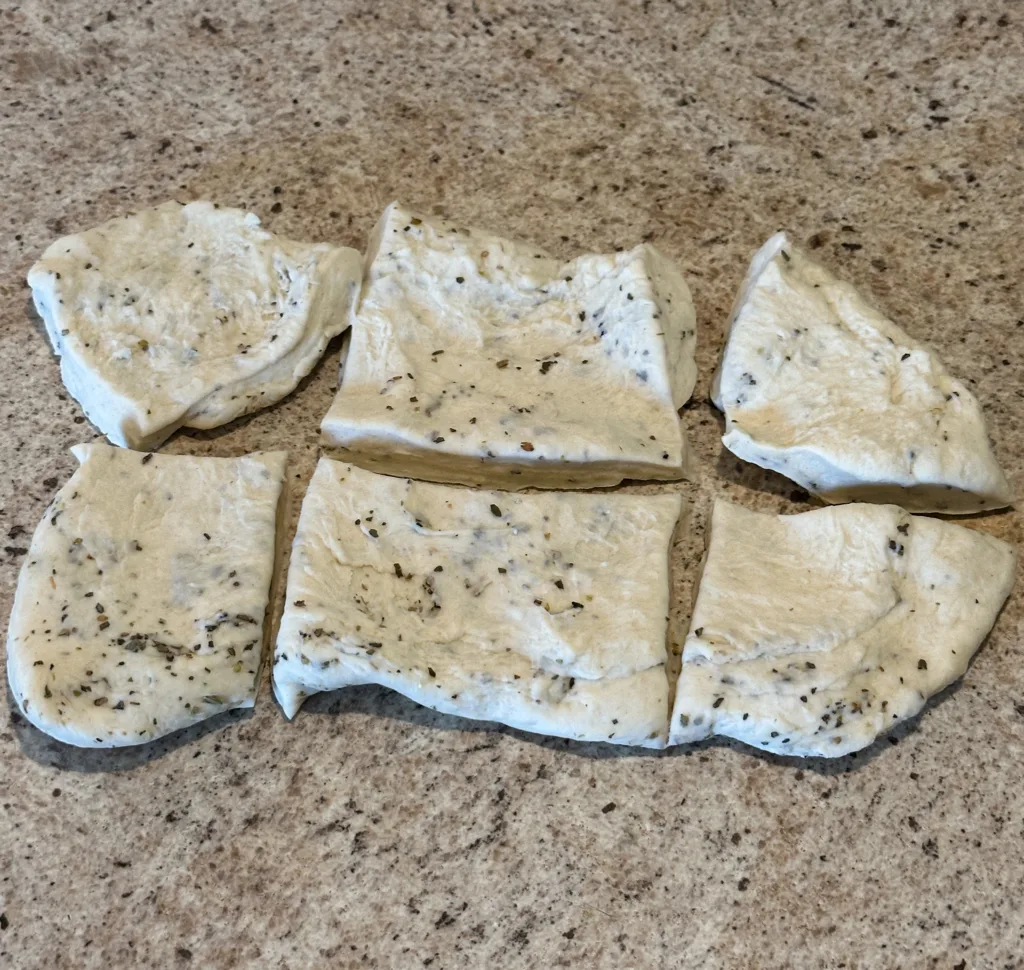
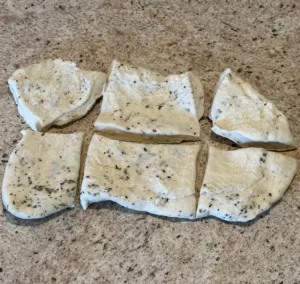
Next, roll out the dough into a circle and divide it into 6 pieces. Then, roll each piece of dough into a oval or circle shape (doesn’t have to be perfect) along with any herbs that you want to use (optional)!
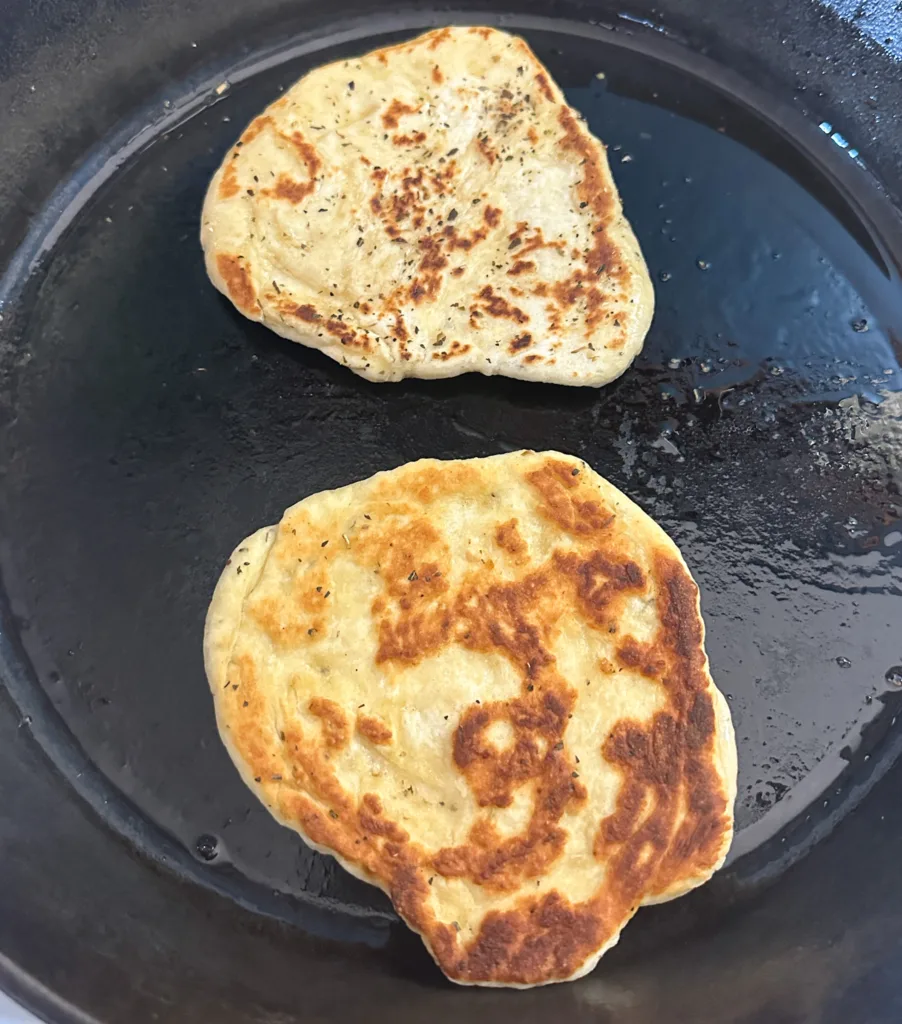
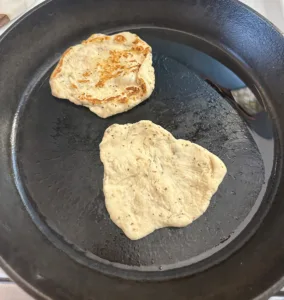
Heat the skillet to medium-high heat. You can add a little oil to grease the skillet or leave it un-oiled. Whatever your preference is!

Cook each naan for 1-2 minutes on each side until you start to see golden bubbles form.
Remove from skillet and brush with melted butter and more herbs, optional. And enjoy! 🙂

How to store and reheat homemade naan recipe
- Room temp: Once the naan has completely cooled down, place them in a zip-top bag or air-tight container. Store on the counter at room temperature for 2-3 days.
- Freezer: Stack each naan with a small piece of parchment paper between each one so they don’t stick together. Slide the stack of naan into a freezer-safe bag or container. They will stay good for up to 3 months.
*To reheat: Sprinkle a few drops of water on the naan and toss it back onto the iron skillet for about 30 seconds each side.
Troubleshooting & FAQs
Can you refrigerate naan? You can, but the fridge actually dries out bread faster than the counter does. I usually recommend the freezer if you aren’t eating it within 48 hours.
How do you keep naan soft after cooking? As you pull them off the skillet, stack them in a clean kitchen towel and keep them wrapped up. The steam stays trapped inside and keeps the crust perfectly tender.
Why didn’t my naan bubble? If your naan didn’t bubble, that usually means that the skillet wasn’t hot enough.
Can I make this dairy-free? Yes! Replace the yogurt with a dairy-free alternative (plain coconut yogurt or almond yogurt work great) OR use 3/4 cup dairy-free milk + 1 tsp lemon juice. Also, you can use olive oil, avocado oil, or melted coconut oil instead of butter.
Can I use Greek yogurt instead of plain yogurt? Yes, for sure! However, you may find that your dough will be a bit more on the shaggy or crumbly side. If that’s the case, add an extra tablespoon or two to the dough.

Shop this blog post
Cast Iron Skillet: A tried and true staple in our house!
Olive Oil: I love this olive oil! I think that it’s great quality and bonus points for the beautiful tin it comes in!

Homemade Naan Recipe
Equipment
- Measuring cups and spoons
- Whisk (optional)
- Mixing Spoon
- Medium bowl
- Rolling Pin- optional
- Pizza cutter or bench scrapper (to cut the naan dough-optional)
- Cast iron skillet
Ingredients
- 2 cups all-purpose flour + a little more for kneading/ work surface
- 1 tsp baking powder
- 1/2 tsp salt
- 1 tsp sugar optional- but helps with flavor
- 3/4 cup plain yogurt
- 2-4 tbsp milk as needed
- 2 tbsp olive oil or melted butter
- Basil and oregano to taste optional
Instructions
- Start by mixing the flour, baking powder, salt, and sugar in a bowl.

- Next, add the yogurt and oil and mix with the flour mixture until a dough forms. Add milk if needed, just enough so that the dough isn’t crumbly.
- Then, quickly knead the dough on a floured surface for about 2-3 minutes. Set aside for 10-15 minutes.
- Next, roll out the dough into a circle and divide it into 6 pieces. Then, roll each piece of dough into a oval or circle shape (doesn't have to be perfect) along with any herbs that you want to use (optional)!
- Heat the skillet to medium-high heat. You can add a little oil to grease the skillet or leave it un-oiled. Whatever your preference is!
- Cook each naan for 1-2 minutes on each side until you start to see golden bubbles form.
- Remove from skillet and brush with melted butter and more herbs, optional. And enjoy! 🙂


Notes
Room temp: Once the naan has completely cooled down, place them in a zip-top bag or air-tight container. Store on the counter at room temperature for 2-3 days.
Freezer: Stack each naan with a small piece of parchment paper between each one so they don’t stick together. Slide the stack of naan into a freezer-safe bag or container. They will stay good for up to 3 months.
*To reheat: Sprinkle a few drops of water on the naan and toss it back onto the iron skillet for about 30 seconds each side.
Naan made at home are sooooooo good! Thanks for sharing!
Absolutely delicious! I have it printed out and I am now headed over to print out your green olive tapenade recipe. Thank you so much for this quick and yummy recipe!
Oh so good! Love homemade naan!
Homemade sourdough naan is the best! Thank you for the recipe!!
Delicious!! I love the herbs in the dough, so tasty, thanks!
I love homemade naan bread! We like using it for gyros or tacos or just by itself warm with melted butter 🙂
Pinned to try later. I only have a yeast recipe for naan. Gotta try this one! 🙂